Drywall repair
The Ultimate Guide to Easily Repairing Drywall with a Drywall Repair Kit
Have you ever noticed cracks, holes, or small imperfections on the walls of your home? They can not only be unsightly but also potentially lead to other issues. Thankfully, we have a simple and effective solution for you—a Drywall Repair Kit that allows you to effortlessly fix your walls and bring back their smooth, flawless appearance.
Why Choose a Drywall Repair Kit?
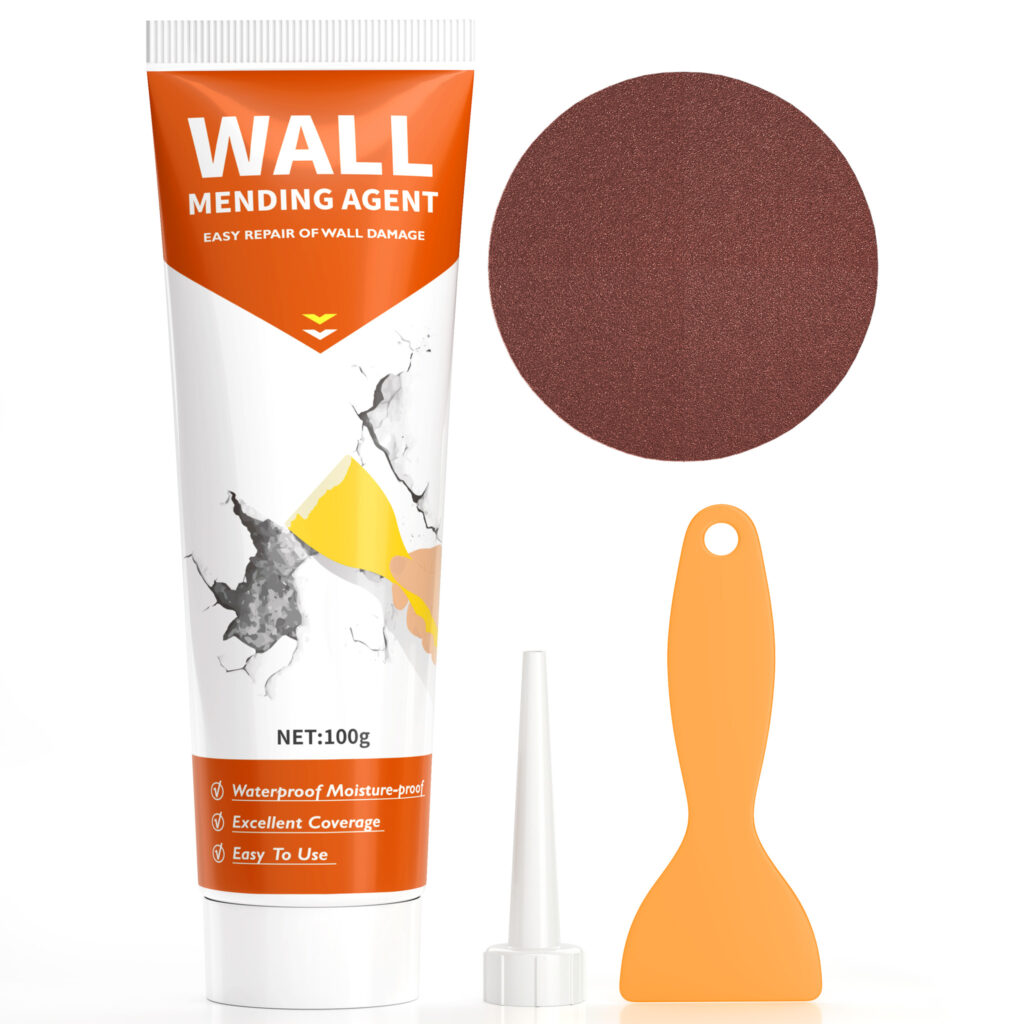
Repairing drywall might sound intimidating, but with a Drywall Repair Kit, it becomes an easy DIY task. Our repair kit includes everything you need—from patching paste to scrapers and sandpaper—making the repair process quick and efficient. Whether you’re a DIY beginner or an experienced enthusiast, this kit will be an essential tool in your household.
Key Features of the Drywall Repair Kit:
- All-in-One Solution: The kit includes drywall compound, scrapers, sanding paper, and more—all in one set—so you don’t need to hunt down separate tools. It’s convenient and saves you time.
- Easy to Use: Designed with simplicity in mind, this kit is suitable for anyone. With just a few straightforward steps, you can repair any minor wall damage, restoring your walls to their original beauty.
- Versatile Application: Whether you have nail holes, small dents, or larger holes, this kit can handle it all. It’s ideal for repairing holes left from picture frames, furniture scratches, or accidental damage.
- Fast and Efficient: The repair paste included in the kit dries quickly, which means less waiting time. After a short period of drying, you can easily sand down the surface to achieve a smooth finish, ready for paint.
Step-by-Step Guide to Using the Drywall Repair Kit
- Prepare the Area: Begin by cleaning the area around the hole or crack. Remove any loose debris and ensure the surface is dry.
- Apply the Repair Paste: Use the scraper to apply the drywall repair paste over the hole or crack. Spread the paste evenly, making sure it covers the damaged area completely.
- Let It Dry: Allow the paste to dry completely. Depending on the room temperature and humidity, this may take anywhere from 1 to 3 hours.
- Sand the Surface: Once the paste has dried, use the sandpaper included in the kit to smooth the surface. Sand until it blends seamlessly with the surrounding wall.
- Paint: After sanding, you can repaint the repaired area to match the rest of your wall. Once the paint dries, your wall will look as good as new!
Tips for Best Results
- Apply Thin Layers: For larger holes, it’s better to apply the repair paste in multiple thin layers, letting each layer dry before adding the next one. This prevents sagging or cracking.
- Use Proper Sanding Techniques: When sanding, start with gentle pressure and gradually increase to achieve a uniform finish. This will help prevent over-sanding, which can create uneven spots.
- Match Your Paint Color: To ensure the repaired area blends well, try to match the original paint color as closely as possible. If needed, bring a sample to your local paint store for a precise match.
Why DIY Wall Repair is Worth It
Hiring a professional to repair minor drywall damage can be expensive, and waiting for them to be available might take time. With a Drywall Repair Kit, you can take care of the issue immediately, at a fraction of the cost. It’s empowering to handle small home repairs on your own, and it gives you the confidence to take on more DIY projects in the future.
Final Thoughts
The Drywall Repair Kit is an affordable and highly effective solution for repairing unsightly damage on your walls. It’s a must-have tool for every household, saving you both time and money while ensuring your walls stay in perfect condition. Next time you notice a crack or a hole, don’t stress—grab your Drywall Repair Kit and fix it in no time!
